Using UIView and UIViewController in SwiftUI
UIKit has been in the iOS development realm for as long as anyone could recall. It has a rich set of system and community-driven APIs. Although SwiftUI has a limited set of tools, their lack is compensated by seamless integration of SwiftUI views with UIView and UIViewController.
In this article we’ll cover:
- How to wrap
UIViewControllerandUIViewinto a SwiftUI view. - How to pass data between UIKit and SwiftUI.
- Lifecycle of
UIViewControllerRepresentableandUIViewRepresentableview.
Using UIViewController in SwiftUI
The process of integrating a view controller into SwiftUI view hierarchy is next:
- Declare a SwiftUI view that conforms to
UIViewControllerRepresentable. - Implement the two required methods
makeUIViewController()andupdateUIViewController().
Let’s get started and wrap a font picker into a SwiftUI view:
UIFontPickerViewControllerallows us to select a font family from the list of system font families.
import UIKit
import SwiftUI

// 1.
struct FontPicker: UIViewControllerRepresentable {

    // 2.
    func makeUIViewController(context: Context) -> UIFontPickerViewController {
        return UIFontPickerViewController()
    }

    // 3.
    func updateUIViewController(_ uiViewController: UIFontPickerViewController, context: Context) {

    }
}
- Declare
FontPickerthat representsUIFontPickerViewController. - The
makemethod returns the initial view controller. - The
updatemethod allows us to keepUIViewControllerin sync with SwiftUI state updates. In this example, we leave it empty, as our view controller does not depend on the rest of our SwiftUI app for any data.
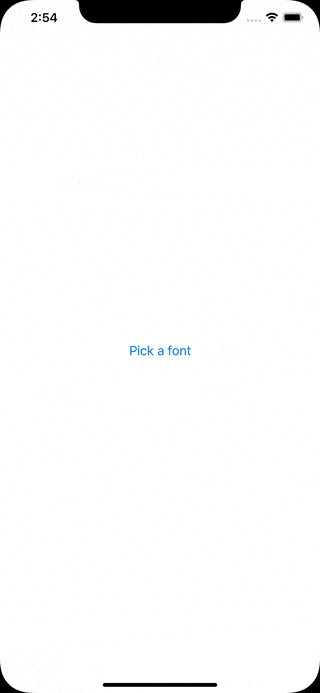
Finally, in ContentView, show the font picker modal. In SwiftUI, we present modals with the sheet() view modifier. The modifier shows and hides a view provided the state of a binding:
struct ContentView: View {
    @State private var isPresented = false

    var body: some View {
        Button("Pick a font") {
            self.isPresented = true
        }.sheet(isPresented: $isPresented) {
            FontPicker()
        }
    }
}
The result looks next:
Passing Data Between UIViewController and SwiftUI
If you run the app and try to pick a font from the list, you’ll see that nothing happens. In our case, we want FontPicker to pass the selected font back, and then to dismiss itself.
The @Binding property wrapper is the SwiftUI’s way of creating a two-way connection between a view and its underlying model. Let’s add this property to FontPicker:
@Binding var font: UIFontDescriptor?
The system doesn’t automatically propagate data and interactions from the view controller to other parts of SwiftUI app. We must provide a Coordinator instance that handles those interactions. It is coordinator’s responsibility to communicate with UIKit via delegation, target-actions, callbacks, and KVO:
extension FontPicker {
    class Coordinator: NSObject, UIFontPickerViewControllerDelegate {
        var parent: FontPicker

        init(_ parent: FontPicker) {
            self.parent = parent
        }

        func fontPickerViewControllerDidPickFont(_ viewController: UIFontPickerViewController) {
            parent.font = viewController.selectedFontDescriptor
        }
    }
}
Coordinatormust be a class. It is optional to name it this way and to nest inside the corresponding view.
Next, add the makeCoordinator() method to FontPicker. It returns the initial coordinator:
func makeCoordinator() -> FontPicker.Coordinator {
    return Coordinator(self)
}
The make and the update methods receive coordinator automatically as a part of the context argument. Typically, we wire up the coordinator in the make method:
func makeUIViewController(context: UIViewControllerRepresentableContext<FontPicker>) -> UIFontPickerViewController {
    let picker = UIFontPickerViewController()
    picker.delegate = context.coordinator
    return picker
}
There is one thing left. We want to dismiss the modal once a user selects a font. For this purpose, we can use the environment’s presentation mode. Add the @Environment property wrapper that extracts a presentationMode value from the FontPicker’s environment:
@Environment(\.presentationMode) var presentationMode
Environmentis essentially a dictionary with app-wide preferences. The system passes it automatically from the root view to its children.
The coordinator’s delegate method is the appropriate place to dismiss the font picker. Add this line to fontPickerViewControllerDidPickFont():
parent.presentationMode.wrappedValue.dismiss()
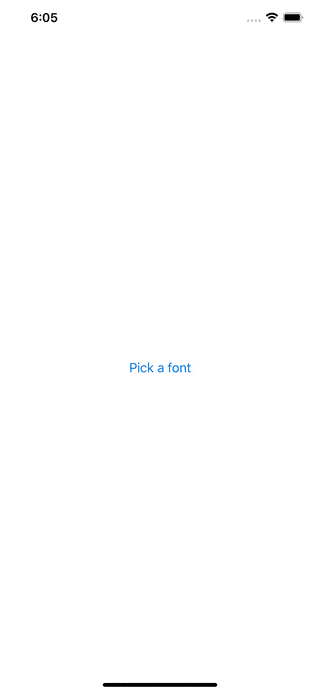
Finally, let’s display the selected font in ContentView:
struct ContentView: View {
    @State private var isPresented = false
    @State private var font: UIFontDescriptor?

    var body: some View {
        VStack(spacing: 30) {
            Text(font?.postscriptName ?? "")
            Button("Pick a font") {
                self.isPresented = true
            }
        }.sheet(isPresented: $isPresented) {
            FontPicker(font: self.$font)
        }
    }
}
Here is the final result:
Using UIView in SwiftUI
The process of integrating UIView is almost identical to the one of UIViewController. Namely, the SwiftUI view must conform to the UIViewRepresentable protocol and implement the same set of methods.
Here is an example of how we can represent UIActivityIndicatorView in SwiftUI:
struct Spinner: UIViewRepresentable {
    let isAnimating: Bool
    let style: UIActivityIndicatorView.Style

    func makeUIView(context: Context) -> UIActivityIndicatorView {
        let spinner = UIActivityIndicatorView(style: style)
        spinner.hidesWhenStopped = true
        return spinner
    }

    func updateUIView(_ uiView: UIActivityIndicatorView, context: Context) {
        isAnimating ? uiView.startAnimating() : uiView.stopAnimating()
    }
}
Let’s display the spinner in ContentView:
struct ContentView: View {
    @State private var isAnimating = false

    var toggle: some View {
        Toggle(isOn: $isAnimating) { EmptyView() }
            .labelsHidden()
    }

    var body: some View {
        VStack(spacing: 30) {
            toggle
            Spinner(isAnimating: isAnimating, style: .large)
        }
    }
}
If you run this code, you’ll see the following result:

Lifecycle
Every SwiftUI view that represents a UIKit view or view controller undergoes following steps that conclude its lifecycle:

Let’s go over each step:
- Create a custom coordinator instance that manages updates between your view controller or view and other parts of your SwiftUI app.
- Create an instance of a view controller or a view. Use the information from
contextto wire up the coordinator, and set up the initial appearance of your view controller or view. Conveniently, we can think of this method asviewDidLoad. - SwiftUI calls the
updatemethod automatically whenever you change the state of the enclosing SwiftUI view. Use this method to keep yourUIVieworUIViewControllerin sync with the updated state information. - Perform any clean-up work that you would normally do in
deinit. Say, removeNotificationCenterobservation, invalidate timer, or cancelURLSessionTask.
Source Code
You can find the final project here.
Thanks for reading!
If you enjoyed this post, be sure to follow me on Twitter to keep up with the new content. There I write daily on iOS development, programming, and Swift.