Animating Table View Cells Display
In this article you will learn how to boost user experience of your app by adding custom display animations for table view cells.
Problem Statement
Animations are among the key factors that distinguish between the regular and outstanding user experience.
I’d venture to guess that you are using at least one table view in your current project. Taking into account that table views are so widely adopted in iOS apps, developing eye-catching cells loading animation can significantly boost your app’s user experience.
So how can we bring new value to your app by writing just a few lines of code?
Getting Started
First off, grab the starter project to save some time on boilerplate code and initial setup. If you run it, you see regular UITableView with static cells.
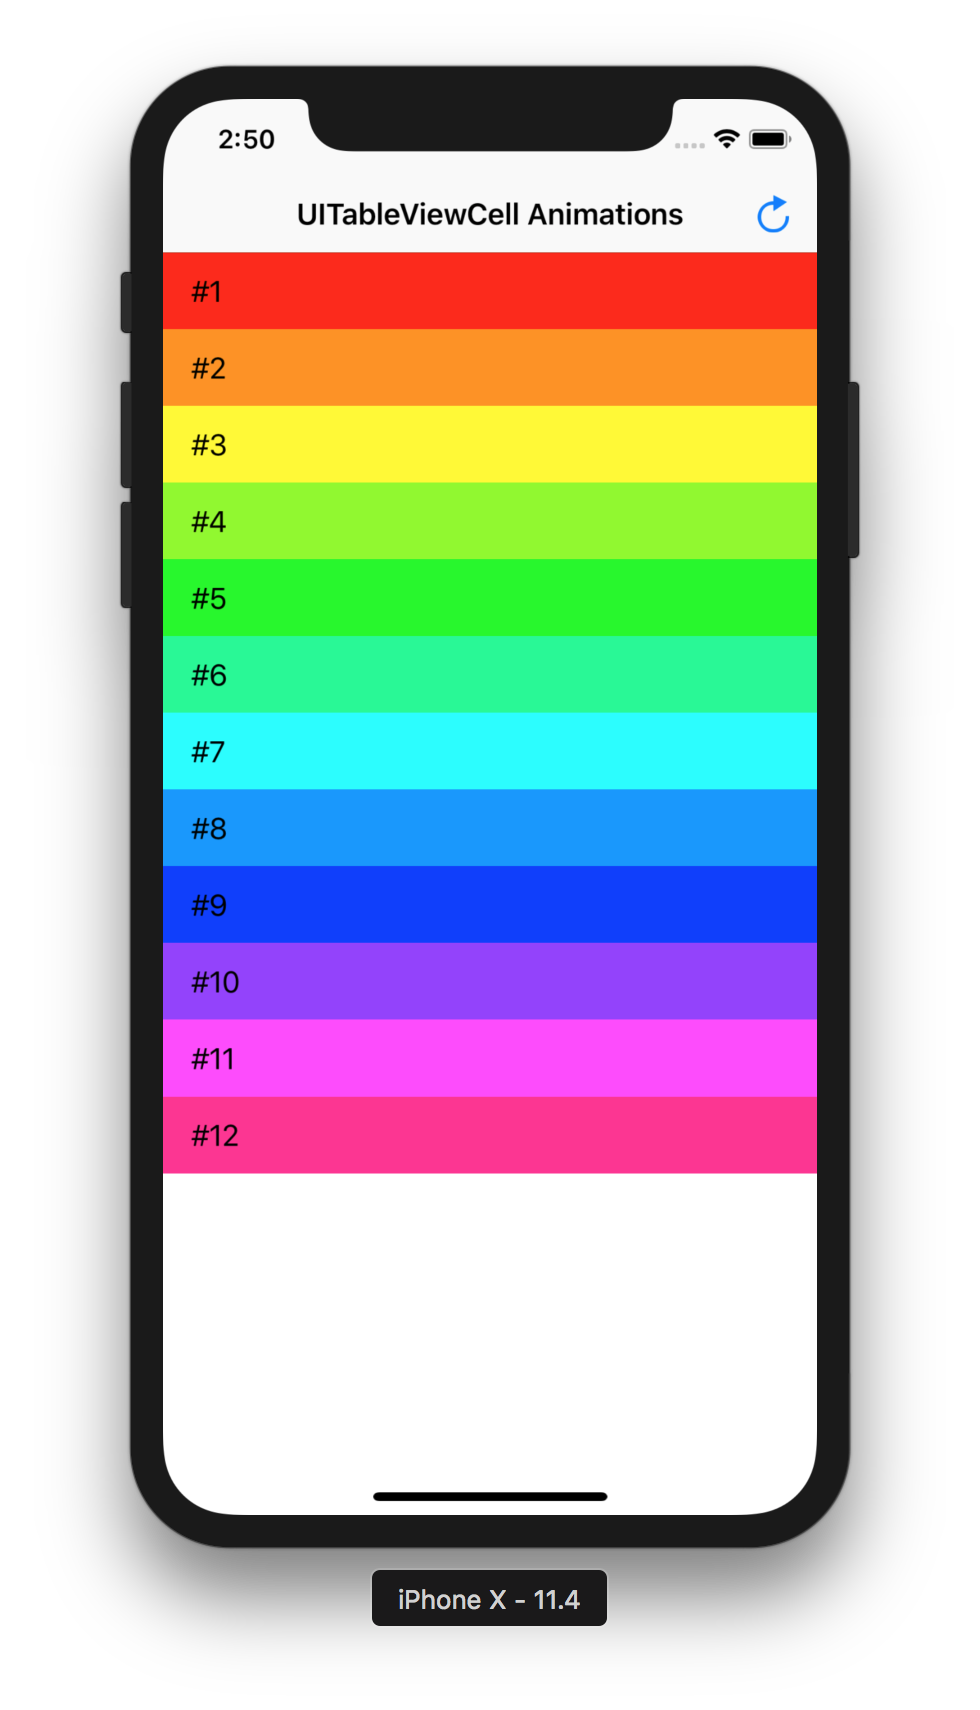
When you open TableViewController.swift, you see several stubs needed for our further work:
@IBAction func onRefresh(_ sender: UIBarButtonItem) {
    // Refresh table view here
}

override func tableView(_ tableView: UITableView, willDisplay cell: UITableViewCell, forRowAt indexPath: IndexPath) {
    // Add animations here
}
The onRefresh method handles taps on right navigation bar button. Later on we’ll add the code that triggers animations, but for now let’s leave it intact.
All the action will happen in tableView(_:,willDisplay:,forRowAt:). Let’s add some simples animation to see it working.
Implementing Simple Animation
Let’s begin with a simple fade animation. UIView has a family of methods that lend themselves to animating views.
Add this code to tableView(_:,willDisplay:,forRowAt:):
cell.alpha = 0

UIView.animate(
    withDuration: 0.5,
    delay: 0.05 * Double(indexPath.row),
    animations: {
        cell.alpha = 1
})
Now run the project to see the animation in action.
Preparing for More Complex Animations
When implementing animations, it is often difficult to judge how good it is just by looking at the code. Most of the time you need to try a number of variations before coming up with a satisfying solution.
As a good developer, you want to follow best practices to produce a reusable solution that allows to easily plug in and tweak animations. This section lends itself to developing such foundation.
The first thing we do is define Animation type that is essentially a closure that accepts several parameters:
typealias Animation = (UITableViewCell, IndexPath, UITableView) -> Void
Animator lends itself to running animation. It also ensures that the animation does not run more than once for all visible cells.
Experiment with
Animatorclass and remove the usage ofhasAnimatedAllCellsproperty to see how the scroll behavior will change.
final class Animator {
    private var hasAnimatedAllCells = false
    private let animation: Animation

    init(animation: @escaping Animation) {
        self.animation = animation
    }

    func animate(cell: UITableViewCell, at indexPath: IndexPath, in tableView: UITableView) {
        guard !hasAnimatedAllCells else {
            return
        }

        animation(cell, indexPath, tableView)

        hasAnimatedAllCells = tableView.isLastVisibleCell(at: indexPath)
    }
}
Now we want to be as flexible as possible with our animations to tweak and replace them with ease. For this purpose let’s implement AnimationFactory that creates animations themselves. The factory already has our fade animations added:
enum AnimationFactory {

    static func makeFadeAnimation(duration: TimeInterval, delayFactor: Double) -> Animation {
        return { cell, indexPath, _ in
            cell.alpha = 0

            UIView.animate(
                withDuration: duration,
                delay: delayFactor * Double(indexPath.row),
                animations: {
                    cell.alpha = 1
            })
        }
    }
}
Replace old animation code in TableViewController.swift.
override func tableView(_ tableView: UITableView, willDisplay cell: UITableViewCell, forRowAt indexPath: IndexPath) {
    let animation = AnimationFactory.makeFadeAnimation(duration: 0.5, delayFactor: 0.05)
    let animator = Animator(animation: animation)
    animator.animate(cell: cell, at: indexPath, in: tableView)
}
The only thing left is adding the refresh feature.
@IBAction func onRefresh(_ sender: UIBarButtonItem) {
    tableView.reloadData()
}
Run the project to verify that everything works as expected.
Great job at refactoring the old non-reusable animation code and replacing it with the new fancy one. Now you are ready for more cool stuff.
Bounce Animation
To implement more complex animations you want to utilize transform property of UITableViewCell that applies 2D transformations to the cell, such as rotate, scale, move, or skew. That’s what we are going to do for our next bouncing animation.
UIKit is powerful enough to let you define bounce animation by means of a single method. Remember that we put all new animation code into factory class. Open AnimationFactory.swift and add next method:
static func makeMoveUpWithBounce(rowHeight: CGFloat, duration: TimeInterval, delayFactor: Double) -> Animation {
    return { cell, indexPath, tableView in
        cell.transform = CGAffineTransform(translationX: 0, y: rowHeight)

        UIView.animate(
            withDuration: duration,
            delay: delayFactor * Double(indexPath.row),
            usingSpringWithDamping: 0.4,
            initialSpringVelocity: 0.1,
            options: [.curveEaseInOut],
            animations: {
                cell.transform = CGAffineTransform(translationX: 0, y: 0)
        })
    }
}
Few highlights:
dampingRatio- essentially a bouncing power. Use value of 1 for no bouncing at all and values closer to 0 to increase oscillation.velocity- spring velocity. Value of 1 corresponds to the total animation distance travelled within a second.options- options for animating views. We are using.curveEaseInOutto cause the animation to begin slowly, accelerate through the middle of its duration, and then slow again before completing.
The numbers we pass to the animation method were obtained empirically by tweaking the animation.
Tip: try passing different options to see how they affect cells animation.
Update code inside table view controller to replace fade animation with the new bouncing one.
let animation = AnimationFactory.makeMoveUpWithBounce(rowHeight: cell.frame.height, duration: 1.0, delayFactor: 0.05)
let animator = Animator(animation: animation)
animator.animate(cell: cell, at: indexPath, in: tableView)
The animation produces the effect like this:
Move and Fade Animation
Our next animation does two things: it moves the cells and fades them at the same time. For that purpose we use both transform and alpha properties of UITableViewCell.
static func makeMoveUpWithFade(rowHeight: CGFloat, duration: TimeInterval, delayFactor: Double) -> Animation {
    return { cell, indexPath, _ in
        cell.transform = CGAffineTransform(translationX: 0, y: rowHeight / 2)
        cell.alpha = 0

        UIView.animate(
            withDuration: duration,
            delay: delayFactor * Double(indexPath.row),
            options: [.curveEaseInOut],
            animations: {
                cell.transform = CGAffineTransform(translationX: 0, y: 0)
                cell.alpha = 1
        })
    }
}
Put the new animation code in table view controller like we did before.
let animation = AnimationFactory.makeMoveUpWithFade(rowHeight: cell.frame.height, duration: 0.5, delayFactor: 0.05)
let animator = Animator(animation: animation)
animator.animate(cell: cell, at: indexPath, in: tableView)
When you run the app, the animation must look like this:

Slide in Animation
I am sure you have already gotten a knack of writing the animations and started appreciating that reusable solution you’ve built before.
Slide in animation does merely what its name suggests: it moves cells from the right edge of the screen to their actual positions in a table. We also use transform property for this purpose.
Now add next animation code to our factory.
static func makeSlideIn(duration: TimeInterval, delayFactor: Double) -> Animation {
    return { cell, indexPath, tableView in
        cell.transform = CGAffineTransform(translationX: tableView.bounds.width, y: 0)

        UIView.animate(
            withDuration: duration,
            delay: delayFactor * Double(indexPath.row),
            options: [.curveEaseInOut],
            animations: {
                cell.transform = CGAffineTransform(translationX: 0, y: 0)
        })
    }
}
Next, update table view controller code to use slide in animation.
let animation = AnimationFactory.makeSlideIn(duration: 0.5, delayFactor: 0.05)
let animator = Animator(animation: animation)
animator.animate(cell: cell, at: indexPath, in: tableView)
It produces visual effect like this:
Source Code
You can grab final project here. And here is starter project.
Pull requests and issues are warmly welcome.
Summary
Animations play important role in every iOS app’s user experience.
Table views are among most widely used components in iOS, thus developing a good-looking cells animation might be beneficial to your project’s user experience.
The reusable solution we designed to be able to easily plug in and tweak animations can be adapted and used in your current app.
The proposed animation recipes form a nice foundation to get you off to a flying start using table view cell display animations.
Thanks for reading!
If you enjoyed this post, be sure to follow me on Twitter to keep up with the new content. There I write daily on iOS development, programming, and Swift.