Expand and Collapse List Rows with Animation in SwiftUI
In this tutorial, we’ll learn how to expand and collapse list rows with animation in SwiftUI.
Prerequisites: Xcode 11, Swift 5, iOS 13.
Displaying a List of Data
In this section, we’ll display a list of static data.
Throughout this article, we’ll be working with a list of places. Let’s begin by declaring PlacesListView in a new file:
struct PlacesListView: View {
    var body: some View {
        EmptyView()
    }
}
Next, create a Place struct:
struct Place: Identifiable {
    let id: Int
    let name: String
}
Notice that Place conforms to Identifiable. We satisfy the Identifiable protocol by providing the id property. This allows SwiftUI to figure out data changes in the list so that it can animate and render data elements according to the changes.
Display an array of places by means of the List container:
struct PlacesListView: View {
    let places: [Place]

    var body: some View {
        List(places) { place in
            Text(place.name)
        }
    }
}
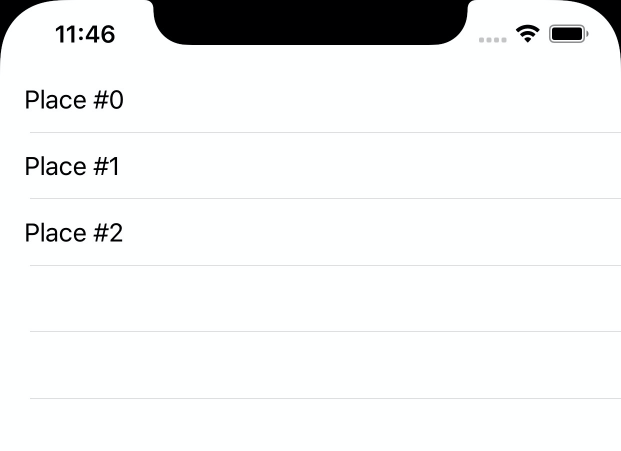
And, finally, show a list of places from your ContentView:
let places = [
    Place(id: 0, name: "Place #0"),
    Place(id: 1, name: "Place #1"),
    Place(id: 2, name: "Place #2")
]

struct ContentView: View {
    var body: some View {
        PlacesListView(places: places)
    }
}
The result looks next:
Handling Row Tap Gestures
In this section, we’ll handle list row tap gestures.
First, extract list row into its own view:
struct PlaceView: View {
    let place: Place

    var body: some View {
        Text(place.name)
    }
}
Then handle tap gestures:
struct PlacesListView: View {
    let places: [Place]

    var body: some View {
        List(places) { place in
            PlaceView(place: place)
                .onTapGesture { self.selectDeselect(place) }
        }
    }

    func selectDeselect(_ place: Place) {
        print("Selected \(place.id)")
    }
}
If you run this code, then tap the topmost row, you’ll see that Selected 0 is printed to the console. However, there is a problem, that the tap area is very small. You must tap exactly inside the text bounds. As a user, we usually expect the whole row to be tappable. Make the following changes to PlaceView to address that:
struct PlaceView: View {
    let place: Place

    var body: some View {
        HStack { // 1.
            Text(place.name)
            Spacer() // 2.
        }
        .contentShape(Rectangle()) // 3.
    }
}
Here’s what we’re doing:
- Left-align place name by means of a horizontal stack.
- Stretch
PlaceViewto occupy all available horizontal space by addingSpacer. - Add a rectangular tappable area.
Adding Place Details
In this section, we’ll display
Placedetails.
Add the following properties to the Place struct:
struct Place: Identifiable {
    let id: Int
    let name: String
    let country: String
    let city: String
    let street: String
    let zip: String
    let phoneNumber: String
}
Next, render the new properties in PlaceView:
struct PlaceView: View {
    let place: Place

    var body: some View {
        HStack {
            content
            Spacer()
        }
        .contentShape(Rectangle())
    }

    private var content: some View {
        VStack(alignment: .leading) {
            Text(place.name).font(.headline)

            VStack(alignment: .leading) {
                Text(place.country)
                Text(place.city)
                Text(place.street)
                Text(place.zip)
                Text(place.phoneNumber)
            }
        }
    }
}
Then prepare sample data to display:
struct Place: Identifiable {
    // ...
    static func samples() -> [Place] { (0..<100).map(Place.fixture) }

    private static func fixture(_ id: Int) -> Place {
        Place(
            id: id,
            name: "Place #\(id)",
            country: "Country #\(id)",
            city: "City #\(id)",
            street: "Street #\(id)",
            zip: "Zip #\(id)",
            phoneNumber: "Phone #\(id)"
        )
    }
}
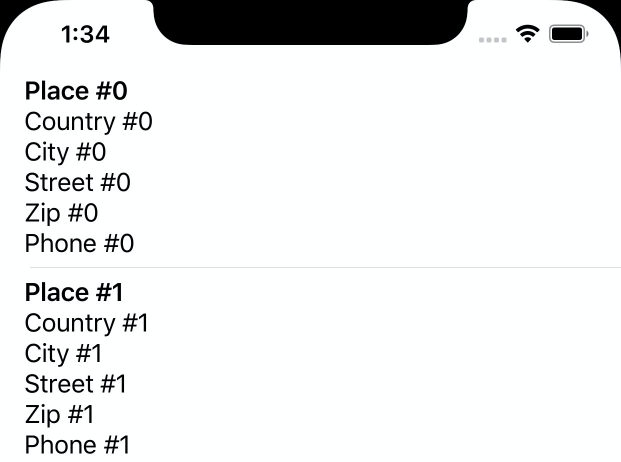
Next, update your ContentView to display the samples:
struct ContentView: View {
    var body: some View {
        PlacesListView(places: Place.samples())
    }
}
The result looks next:
Expanding and Collapsing List Rows
In this section, we’ll expand and collapse list rows.
First, conditionally display place details provided isExpanded state:
struct PlaceView: View {
    // ...
    let isExpanded: Bool
    // ...
    var content: some View {
        VStack(alignment: .leading) {
            Text(place.name).font(.headline)

            if isExpanded {
                VStack(alignment: .leading) {
                    Text(place.country)
                    Text(place.city)
                    Text(place.street)
                    Text(place.zip)
                    Text(place.phoneNumber)
                }
            }
        }
    }
}
Second, we need to keep track of selected rows in PlaceView. We’ll represent user selection with the @State property wrapper. We also add Hashable conformance to the Place struct, so that it can be stored in a Set:
@Stateis the representation of view-local data that changes dynamically.
struct Place: Identifiable, Hashable { /* ... */ }

struct PlacesListView: View {
    @State private var selection: Set<Place> = []
    // ...
}
Last, keep track of places multi-selection. Here is the full version of PlacesListView:
struct PlacesListView: View {
    let places: [Place]
    @State private var selection: Set<Place> = []

    var body: some View {
        List(places) { place in
            PlaceView(place: place, isExpanded: self.selection.contains(place))
                .onTapGesture { self.selectDeselect(place) }
        }
    }

    private func selectDeselect(_ place: Place) {
        if selection.contains(place) {
            selection.remove(place)
        } else {
            selection.insert(place)
        }
    }
}
The result looks next:
Animating Expand and Collapse
In this section, we’ll animate expand and collapse of list rows using SwiftUI
ListandForEachcontainers.
Animating expand and collapse is as simple as adding a single line of code to PlacesListView:
struct PlacesListView: View {
    // ...
    var body: some View {
        List(places) { place in
            PlaceView(place: place, isExpanded: self.selection.contains(place))
                .onTapGesture { self.selectDeselect(place) }
                .animation(.linear(duration: 0.3))
        }
    }
    // ...
}
The current state of affairs is that SwiftUI list animation is not very smooth:
We can improve the animation by using the ForEach container instead of List. ForEach doesn’t scroll by default, thus we enclose it into a scroll view. Update the body property with the following code:
var body: some View {
    ScrollView {
        ForEach(places) { place in
            PlaceView(place: place, isExpanded: self.selection.contains(place))
                .onTapGesture { self.selectDeselect(place) }
                .modifier(ListRowModifier())
                .animation(.linear(duration: 0.3))
        }
    }
}
Note that we are using ListRowModifier to make rows look like in List:
struct ListRowModifier: ViewModifier {
    func body(content: Content) -> some View {
        Group {
            content
            Divider()
        }.offset(x: 20)
    }
}
The result looks next:
Source Code
You can find the final project here.
Thanks for reading!
If you enjoyed this post, be sure to follow me on Twitter to keep up with the new content. There I write daily on iOS development, programming, and Swift.