Add, Edit, Move, and Drag and Drop List Rows with SwiftUI
In this tutorial, we’ll learn how to add, edit, move, and drag and drop elements in a list with SwiftUI.
This tutorial was created with Xcode 11.4, Swift 5.2, and iOS 13.4.
Displaying a List of Data
In this section, we’ll display a list of static data.
First, let’s declare a type of data elements that we are going to display:
struct Item: Identifiable {
    let id = UUID()
    let title: String
}
Item must conform to the Identifiable protocol so that SwiftUI knows how to identify data elements in a list. This allows SwiftUI to automatically calculate data changes and update only what is necessary. To satisfy the protocol, we must provide the id property that, in its turn, conforms to Hashable, which is already the case with UUID.
Second, let’s populate a list with data:
struct DemoList: View {
    // 1.
    @State private var items: [Item] = (0..<5).map { Item(title: "Item #\($0)") }

    // 2.
    var body: some View {
        List {
            ForEach(items) { item in
                Text(item.title)
            }
        }
    }
}
Here is what we are doing:
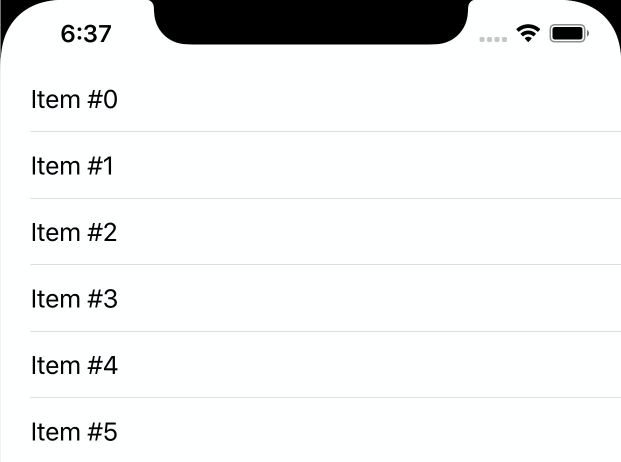
- Populate the initial data with 5 elements.
- Create a list of 5 elements. Note that we embed
ForEachinsideList. We’ll need this later to support editing.
Enabling Editing Mode
In this section, we’ll embed the list into a navigation view, and toggle list editing mode.
Let’s begin by wrapping the list into a navigation view:
struct DemoList: View {
    // 1.
    @State private var editMode = EditMode.inactive

    // ...

    var body: some View {
        // 2.
        NavigationView {
            List {
                ForEach(items) { item in
                    Text(item.title)
                }
            }
            .navigationBarTitle("List")
            // 3.
            .navigationBarItems(leading: EditButton())
            // 4.
            .environment(\.editMode, $editMode)
        }
    }
}
Here is what we are doing:
- Declare an edit mode state that is inactive by default.
- Wrap the list into a navigation view.
- Add the system edit button that toggles the edit mode for the current scope.
- Bind the
editModestate to theDemoListview environment. This allows us to read and update the environment’s currenteditModevalue.
Then add a button that appends a new item to the list:
struct DemoList: View {
    // ...

    var body: some View {
        NavigationView {
            // ...
            .navigationBarItems(leading: EditButton(), trailing: addButton)
        }
    }

    private var addButton: some View {
        switch editMode {
        case .inactive:
            return AnyView(Button(action: onAdd) { Image(systemName: "plus") })
        default:
            return AnyView(EmptyView())
        }
    }

    func onAdd() {
        // To be implemented in the next section
    }
}
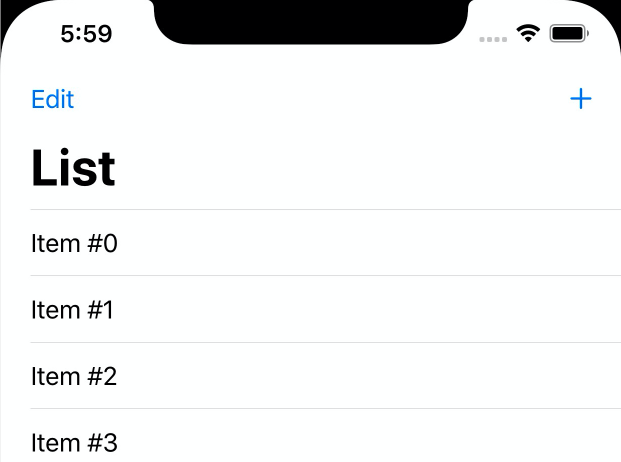
Note that we supply the add button only for inactive edit mode.
The result looks next:
Adding, Deleting and Moving Elements
In this section, we’ll add, delete and move elements in the list.
SwiftUI ForEach supports deletion and reordering of rows out-of-the-box. All we need to do is attach the corresponding action handlers:
struct DemoList: View {
    // ...

    var body: some View {
        NavigationView {
            List {
                ForEach(items) { item in
                    Text(item.title)
                }
                // 1.
                .onDelete(perform: onDelete)
                .onMove(perform: onMove)
            }
            // ...
        }
    }

    // 2.
    private func onDelete(offsets: IndexSet) {
        items.remove(atOffsets: offsets)
    }

    // 3.
    private func onMove(source: IndexSet, destination: Int) {
        items.move(fromOffsets: source, toOffset: destination)
    }
}
- Attach action handlers to
ForEach. - In the
onDelete()method, we receive indices of the deleted items. We remove the corresponding elements from the array. - In the
onMove()method, we receive the source and the destination indices of the moved items. We reorder theitemsarray accordingly.
Lastly, handle the add action:
struct DemoList: View {
    // ...
    @State private var items: [Item] = []
    private static var count = 0

    // ...

    private func onAdd() {
        items.append(Item(title: "Item #\(Self.count)"))
        Self.count += 1
    }
}
In the onAdd() action, we append the new item to the array. Since we can now insert elements into the list, we start with an empty data set.
The result looks next:

Implementing Drag and Drop
In this section, we’ll drag and drop URLs from Safari into our list.
Drag-and-drop allows us to convey data between different apps or windows of the same app. The feature is especially relevant in light of the recently introduced multi-window support on iPadOS.
Same as with delete and move actions, SwiftUI provides us with a convenience action that handles drag and drop.
First, attach the onInsert() action to ForEach. At the point of declaration, we must specify the uniform type identifies (or UTIs) of data we want to accept. In our example, we pass the kUTTypeURL identifier to support drag-and-drop of URLs:
import MobileCoreServices
// ..

var body: some View {
    // ..
    ForEach(items) { item in
        Text(item.title)
    }
    .onInsert(of: [String(kUTTypeURL)], perform: onInsert)
   // ..
}

// ..
Next, implement the onInsert() method that handles the drag-and-drop action. The method receives dropped item offset in a list, and an array of NSItemProvider instances. The latter allows us to extract the URLs.
private func onInsert(at offset: Int, itemProvider: [NSItemProvider]) {
    for provider in itemProvider {
        // 1.
        if provider.canLoadObject(ofClass: URL.self) {
            // 2.
            _ = provider.loadObject(ofClass: URL.self) { url, error in
                DispatchQueue.main.async {
                    // 3.
                    url.map { self.items.insert(Item(title: $0.absoluteString), at: offset) }
                }
            }
        }
    }
}
Here is what we are doing:
- Check that the provider recognizes the piece of data as a URL.
- Asynchronously load the dropped URL.
- Insert the URL into the list.
It works as follows on iPadOS:

Source Code
You can find the final project here.
Thanks for reading!
If you enjoyed this post, be sure to follow me on Twitter to keep up with the new content. There I write daily on iOS development, programming, and Swift.